Funny story: I made this fabulous broccoli and cheese soup. It was a gloomy, gray day; so, I thought I'd pop outside to take a picture and absorb as much natural light as I could. After shooting outside, the soup got cold. And, no one wants cold soup on a chilly, grim day. Being at work, I placed it in the microwave for a quick reheat.
Unfortunately, I dropped that now piping hot soup everywhere. It made a HUGE mess and led to a second degree burn on my arm. Nala, always dutifully on kitchen duty, came to my rescue to lick up the mess. In the process she, managed to get it all over. Which left yellow streaks in her pristine white fur. I think she knew, she refused to give any kisses for two days.
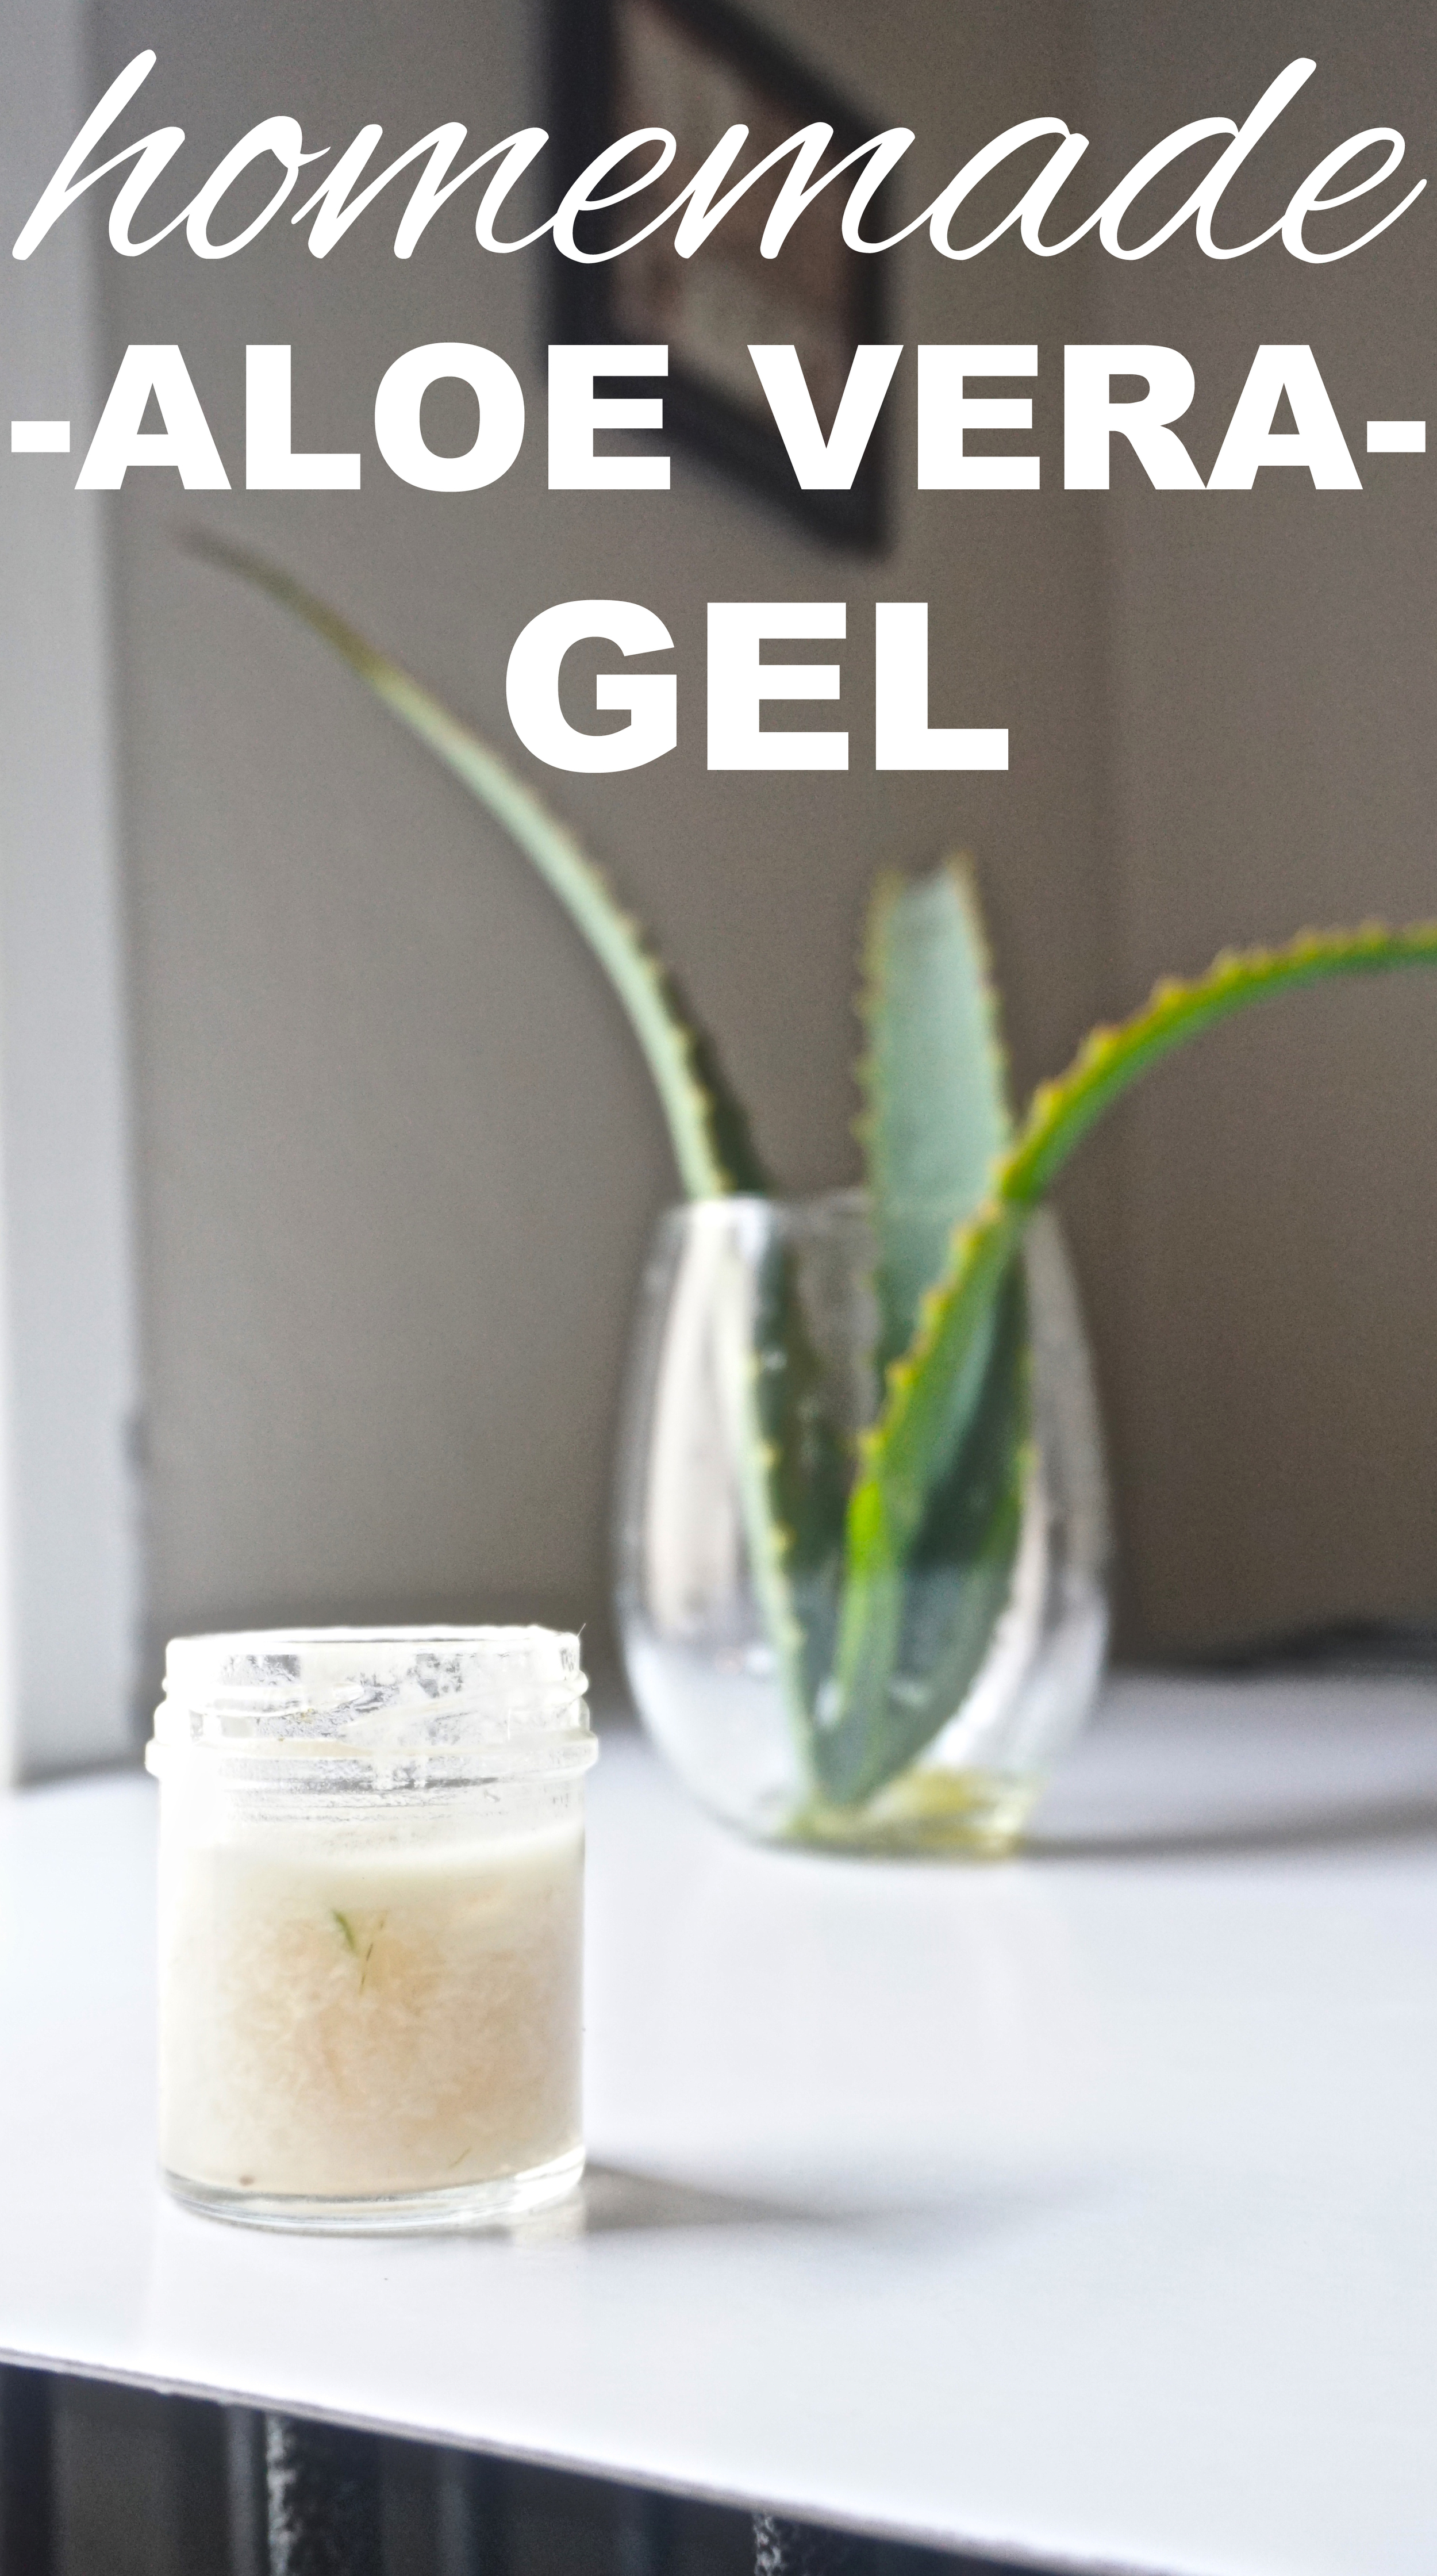
Thus began the great aloe vera experiment. I have an aloe plant I'm quite fond of named, Hal. He outgrew his indoor planter and has been relocated outside where he can grow and grow some more. Of course, I could have snapped a leaf and used the leaf to treat burn. But, I didn't want to be consistently cutting up Hal. Plus, there are tons of uses for aloe vera gel I want to try: conditioner, cleanser, hair texturizer, body scrubs, eyeliner, salves, etc.
When you google making your own beauty products a lot of them call for aloe gel. But, a lot of the aloe gels I've seen on the market are more gel than aloe. That thick gel consistency of store bought isn't natural, but rather comes with a laundry list of mixed chemicals for filler, viscosity, and preserving.
And, making your own is SO EASY!
Homemade Aloe Vera Gel:
10 minutes to prepare; keeps 2-3 weeks in the fridge
1 Aloe Vera Leaf (Roughly 14" long)
Anti-inflamatory will help heal 1st, 2nd, and sun burns
1 Teaspoon of Vitamin E (optional)
Won't heal scarring, but will moisturize, has powerful antioxidants which help skin rejuvenation, and works as a natural preservative
Trim one leaf of an aloe vera plant using a diagonal cut. I used a leaf roughly 14" long about the size pictured below. Peel one side the leaf with a vegetable peeler or use a knife very carefully. Start at the top of the leaf and work your way down. There may be some yellowish liquid that will drain out first, you don't want to use that. You want the clear aloe vera goop (technical term) that should be exposed. Use a spoon to scrape all of that clear goodness into the base of a blender. Add 1 teaspoon of vitamin E oil. Puree. This should break up the goop and make it easier for topical application.
I have a video at the bottom of my mouthwash post that will show you how to get the goop!
If you don't have enough goop to coat the blades of your blender you will need to use another leaf. I have a small blender base, and it just barely covered the blades. I didn't want to make too much; because, we won't use a ton of it. Put it in the fridge to set up. It will congeal, but not as extreme as store bought.
I've been rubbing it into my arm, but I also like to apply a lot and tie a cotton tea towel around my arm to let it really soak in. I leave the towel on for about 10 minutes. Justin has been working really hard on the studio and at work. Leaving his hands sore and blistered.
Soak tired hands in a bowl of warm water and epson salt. Afterwords rub with aloe gel to soothe them.
Do you have an aloe vera plant? What homemade remedies have you used?


